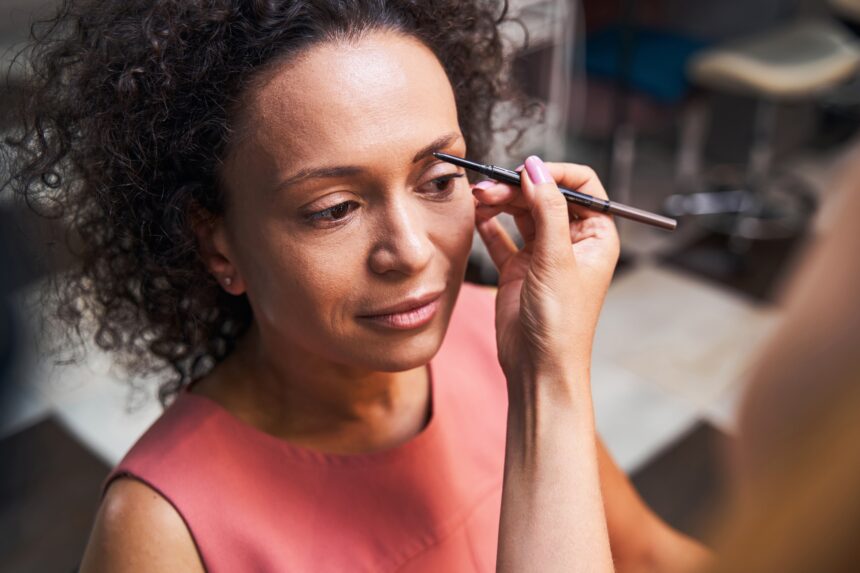
In recent years, the trend of dyeing eyebrows at home has gained significant popularity. With the rise of DIY beauty treatments, many individuals are opting for eyebrow dye kits that allow them to achieve salon-quality results without the hefty price tag. This article will guide you through the process of dyeing your eyebrows at home, providing valuable insights, tips, and safety precautions to ensure a successful outcome.
Why Choose an Eyebrow Dye Kit?
Eyebrow dye kits are designed specifically for home use, making them a convenient option for those looking to enhance their brow color. Here are some reasons why you might consider using an eyebrow dye kit:
- Cost-Effective: Professional eyebrow tinting can be expensive, often ranging from $20 to $50 per session. A home dye kit typically costs between $10 and $30, allowing you to save money in the long run.
- Convenience: You can dye your eyebrows at your own pace and in the comfort of your home, eliminating the need for appointments and travel.
- Customization: Home kits often come with various shades, allowing you to mix colors to achieve your desired look.
- Time-Saving: The process can be completed in as little as 15-30 minutes, making it a quick beauty fix.
Choosing the Right Eyebrow Dye Kit
When selecting an eyebrow dye kit, consider the following factors:
- Color Match: Choose a shade that complements your natural hair color. If you have light hair, opt for a lighter shade, while darker hair can handle deeper tones.
- Ingredients: Look for kits that use gentle, non-toxic ingredients to minimize the risk of irritation.
- Brand Reputation: Research brands and read reviews to find a kit that has a proven track record of quality and safety.
Step-by-Step Guide to Dyeing Your Eyebrows
Once you have selected the right eyebrow dye kit, follow these steps for a successful dyeing experience:
Preparation
- Gather your materials: eyebrow dye kit, a small bowl, an applicator brush, cotton swabs, and gloves.
- Perform a patch test 48 hours before dyeing to check for allergic reactions. Apply a small amount of dye on your inner arm and wait for any adverse reactions.
- Clean your eyebrows and surrounding skin to remove any makeup or oils.
Mixing the Dye
Follow the instructions provided in your kit to mix the dye. Typically, this involves combining the dye and developer in a small bowl until you achieve a smooth consistency.
Application
- Put on gloves to protect your hands from staining.
- Using the applicator brush, carefully apply the dye to your eyebrows, starting from the inner corner and moving outward.
- Ensure even coverage, but avoid getting dye on your skin. Use cotton swabs to clean up any mistakes.
Setting Time
Allow the dye to set for the recommended time, usually between 5 to 15 minutes, depending on the desired intensity. Keep an eye on the clock to avoid over-processing.
Rinsing
- After the setting time, rinse your eyebrows with lukewarm water until the water runs clear.
- Gently pat your eyebrows dry with a clean towel.
Aftercare Tips
To maintain your newly dyed eyebrows, consider the following aftercare tips:
- Avoid excessive washing or scrubbing of the brow area for the first 24 hours.
- Use a gentle cleanser and avoid products with harsh chemicals.
- Consider using a brow gel or serum to keep your eyebrows looking healthy and vibrant.
Conclusion
Dyeing your eyebrows at home can be a rewarding and cost-effective beauty solution. By following the steps outlined in this article and choosing the right products, you can achieve beautiful, professionally tinted brows without leaving your home. Remember to prioritize safety by performing patch tests and using quality products. With practice, you’ll master the art of eyebrow dyeing, enhancing your overall look and boosting your confidence.
